Clients Management
Keep a single, organised record of every customer you sell to, with their contact details, the products they buy, and a full history of changes.
Last updated on June 28, 2026
A client is any company or person you sell to. The Clients module is the address book at the heart of your sales work: it holds each customer's name, status, contact details, default currency, the products they buy from you, and any documents or notes you want to keep on file. You set a client up once, and the rest of Qualis reuses it everywhere, for example when you raise a sales order, log an inspection, or open a quality case. This guide walks you through the things you do most often: finding a client, creating one, reading its details, updating it, importing a batch from a spreadsheet, exporting your list, and reviewing a client's change history.
You reach the module from the left sidebar under Master Data, then Clients. There is nothing to set up first, you can add your first client straight away. Linking products or a default currency is optional and can be done at any time.
Find and browse your clients
Start here to see every client you have and zero in on the one you need.
- Open Clients from the sidebar. At the top you get a quick count of your Total Clients, and how many are Active, Prospects, or On Hold. Below that, the list shows one row per client with its Client Code, Name, Status, Type, Default Currency, Email, and more. You can switch between Table view and Grid view with the toggle above the list.
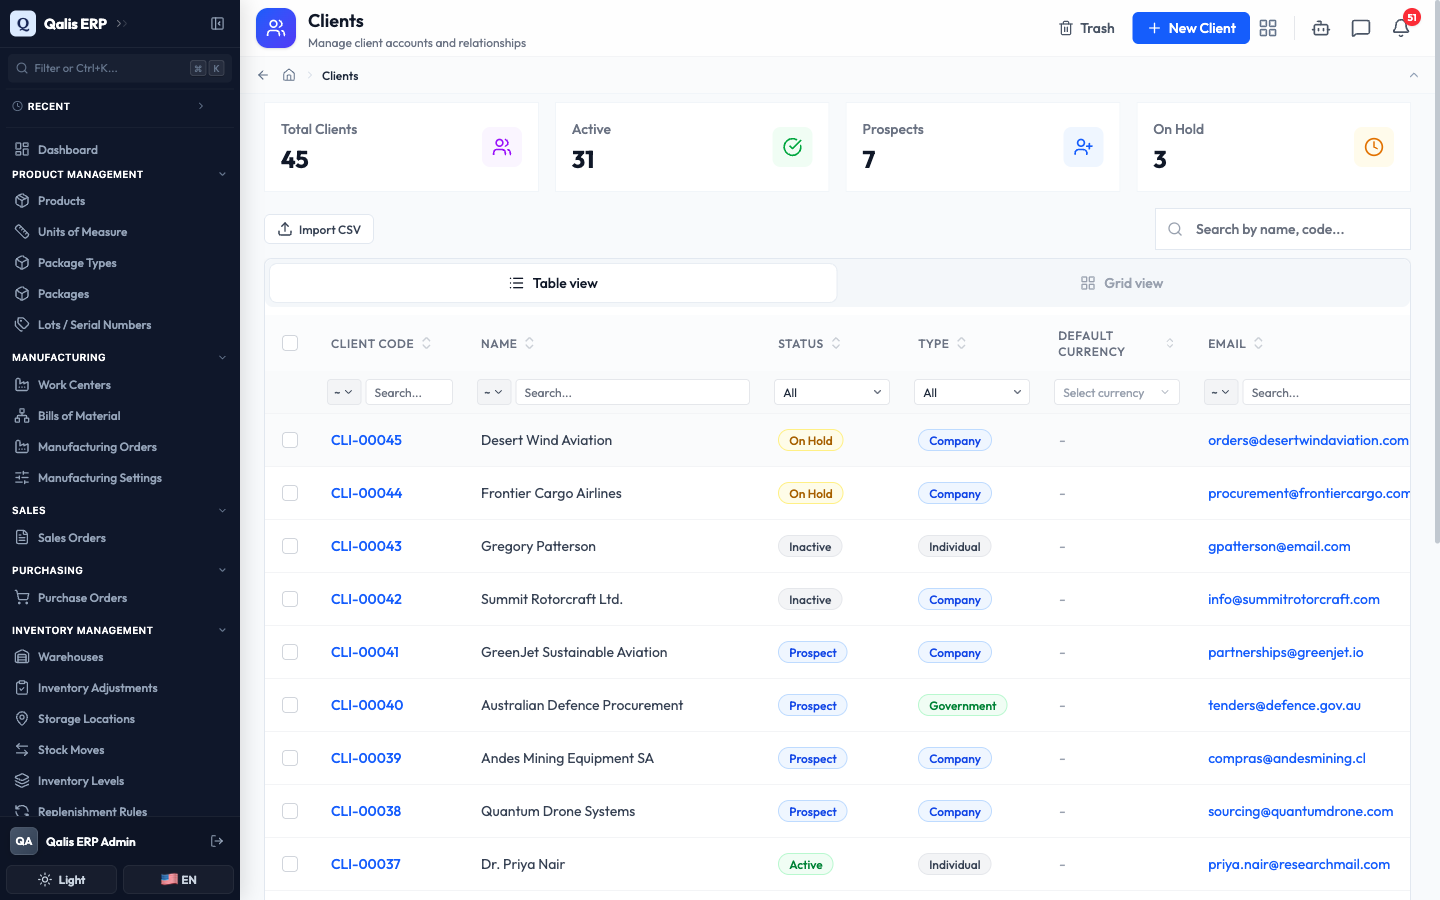
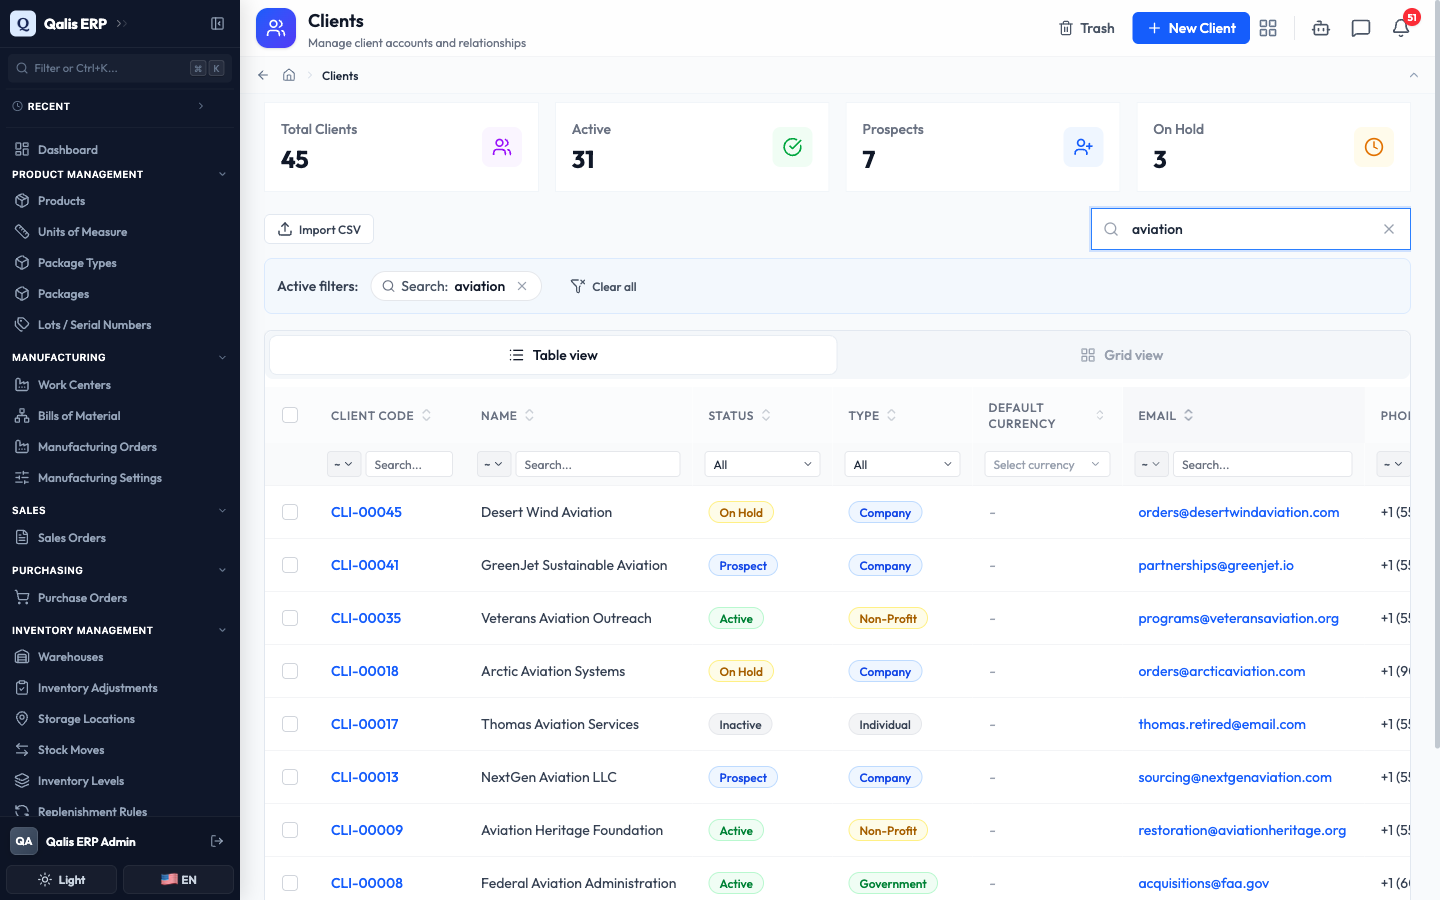
- To find one fast, type in the Search by name, code... box at the top right. The list filters as you type, so there is no need to press Enter.
- To see only clients in a certain state, open the Status dropdown under the column heading and choose, for example, Prospect. You can filter the same way on other columns, such as Type, Default Currency, Email, Created By, or a date range on when records were created or updated.
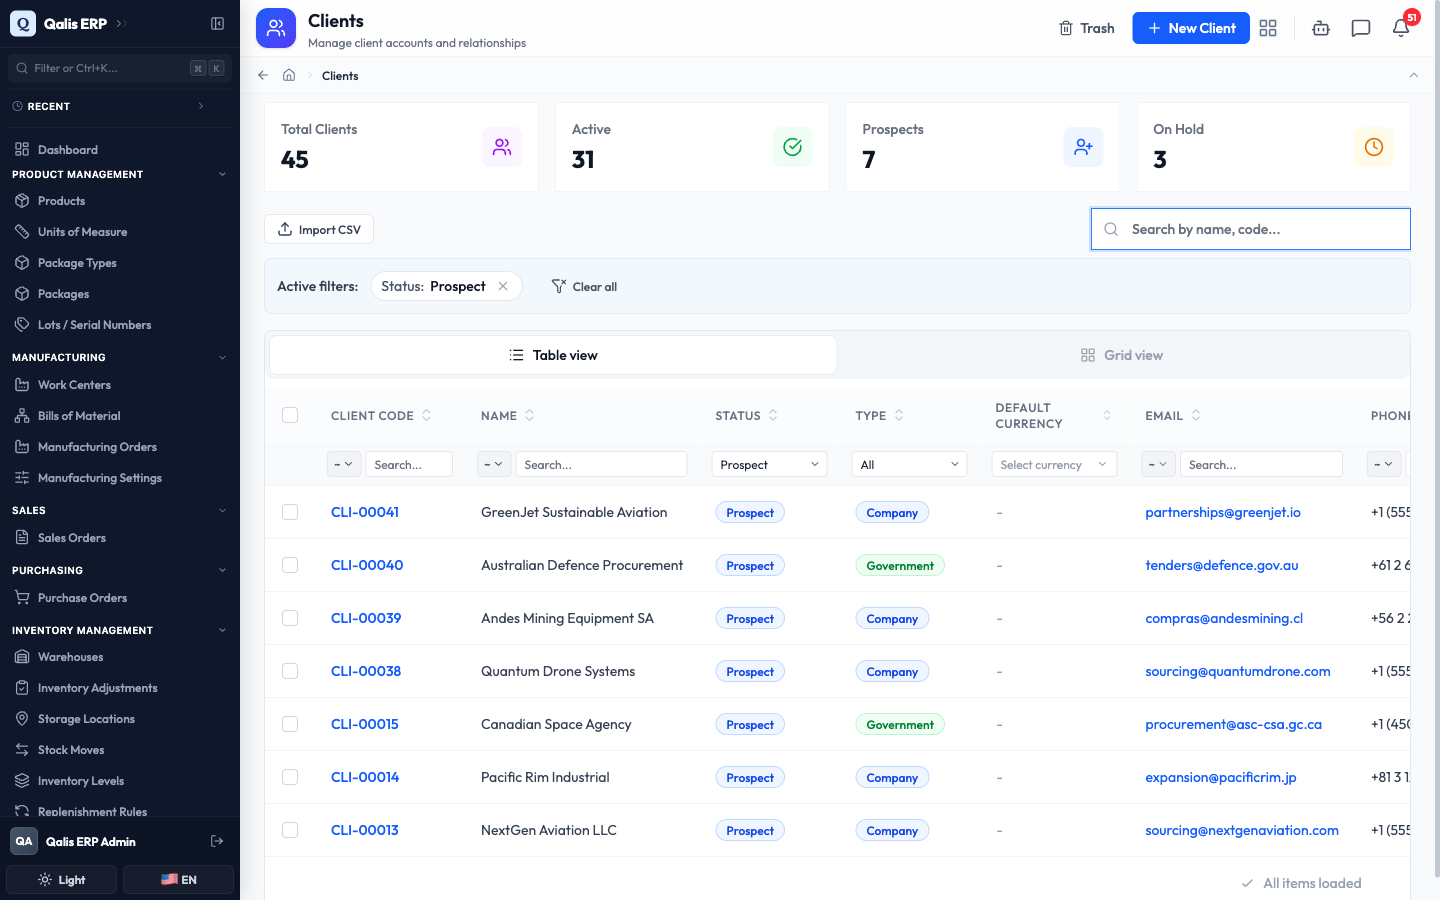
Whenever a filter is on, an Active filters banner appears under the search box showing what is applied. Click the small x on a filter to drop it, or Clear all to reset everything. The web address updates too, so you can bookmark or share a filtered view.
Create a client
This is the main task: adding a new customer so the rest of the system can use it. The form is split into six tabs, so you can fill it in one part at a time. Only the Name, Status, and Type are required, everything else is optional. A new client starts with the status Prospect and the type Company, which you can change.
- Click New Client (top right of the list). You start on the Basic Info tab.
- Type a clear Name, for example
Atlas Precision Machining, add an optional Description, and set the Status (here Active) and Type (here Company).
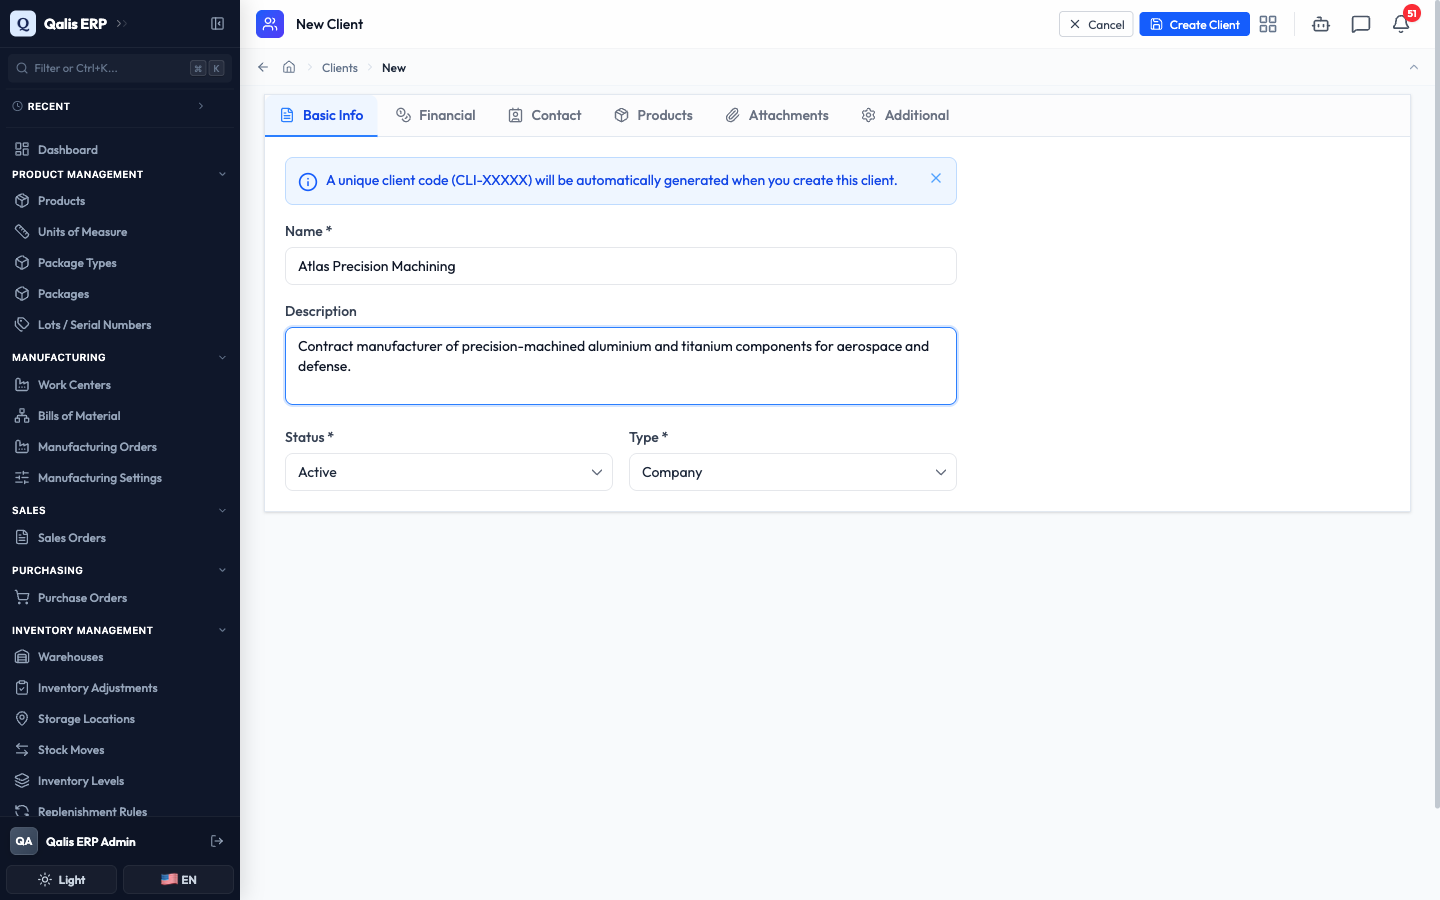
You do not type a code. Qualis assigns one automatically when you save (for example
CLI-00046), as the blue note on the form explains.
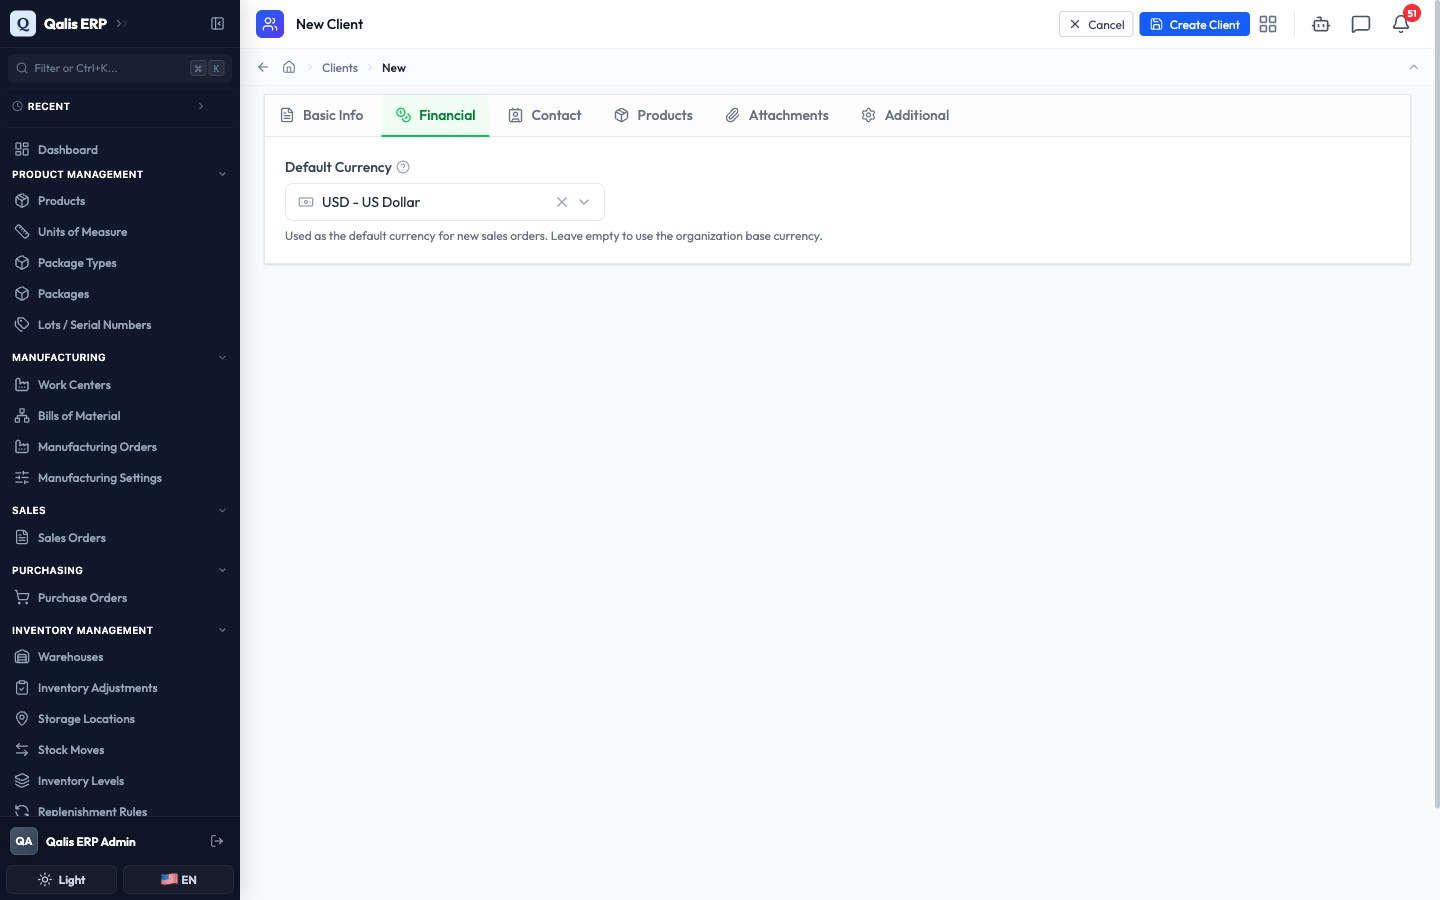
- Open the Financial tab to set a Default Currency if this customer is usually billed in a particular currency. Start typing to search, then pick one from the list. Leaving it empty means new sales orders use your organization's base currency instead.
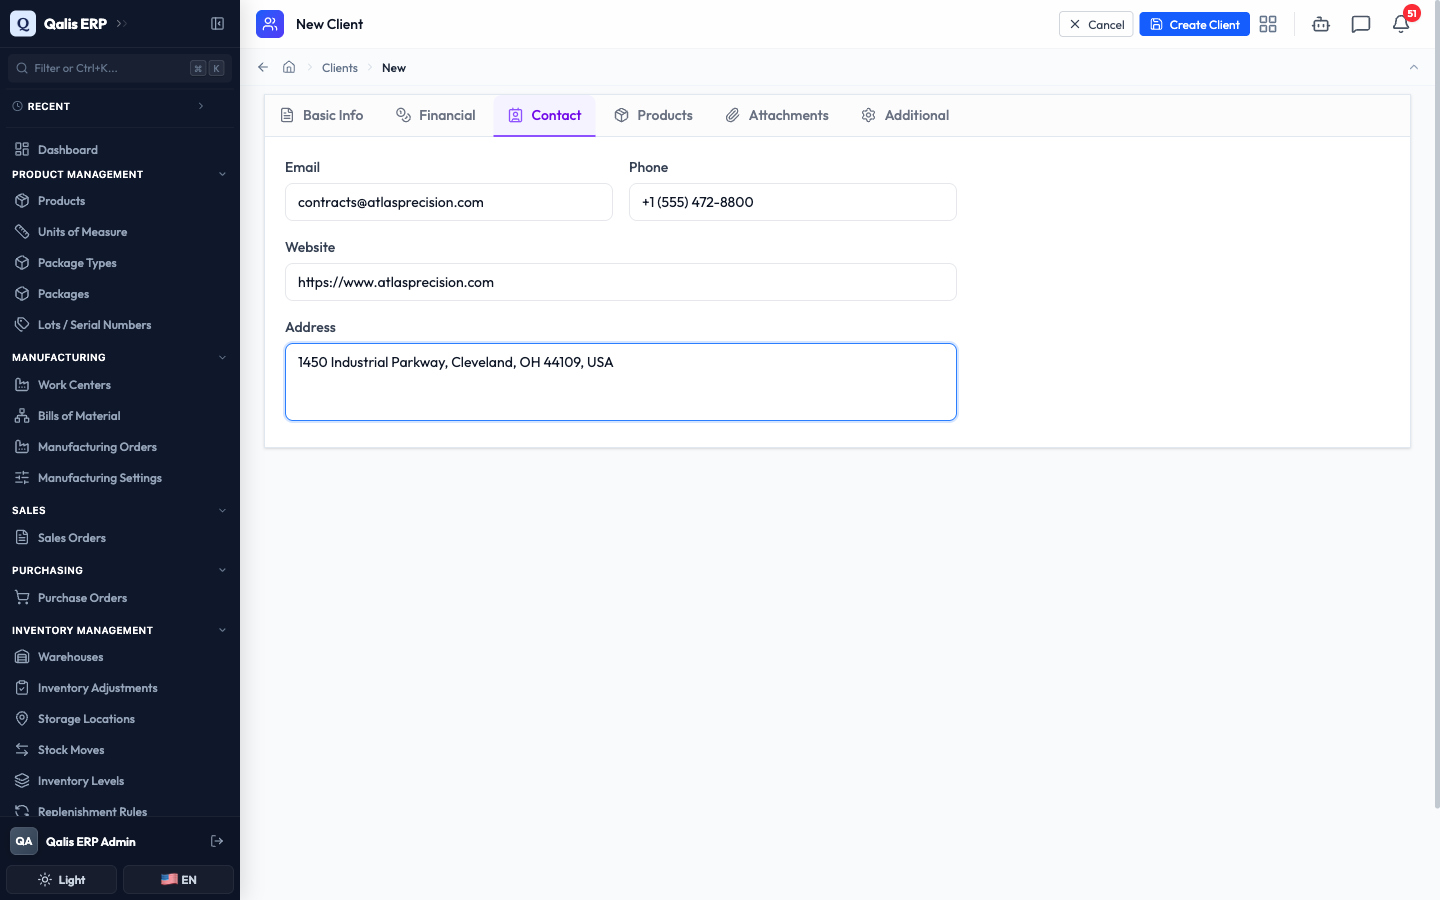
- Open the Contact tab and fill in the customer's Email, Phone, Website, and Address. These are all optional, but the email and website are checked for a valid format as you type.
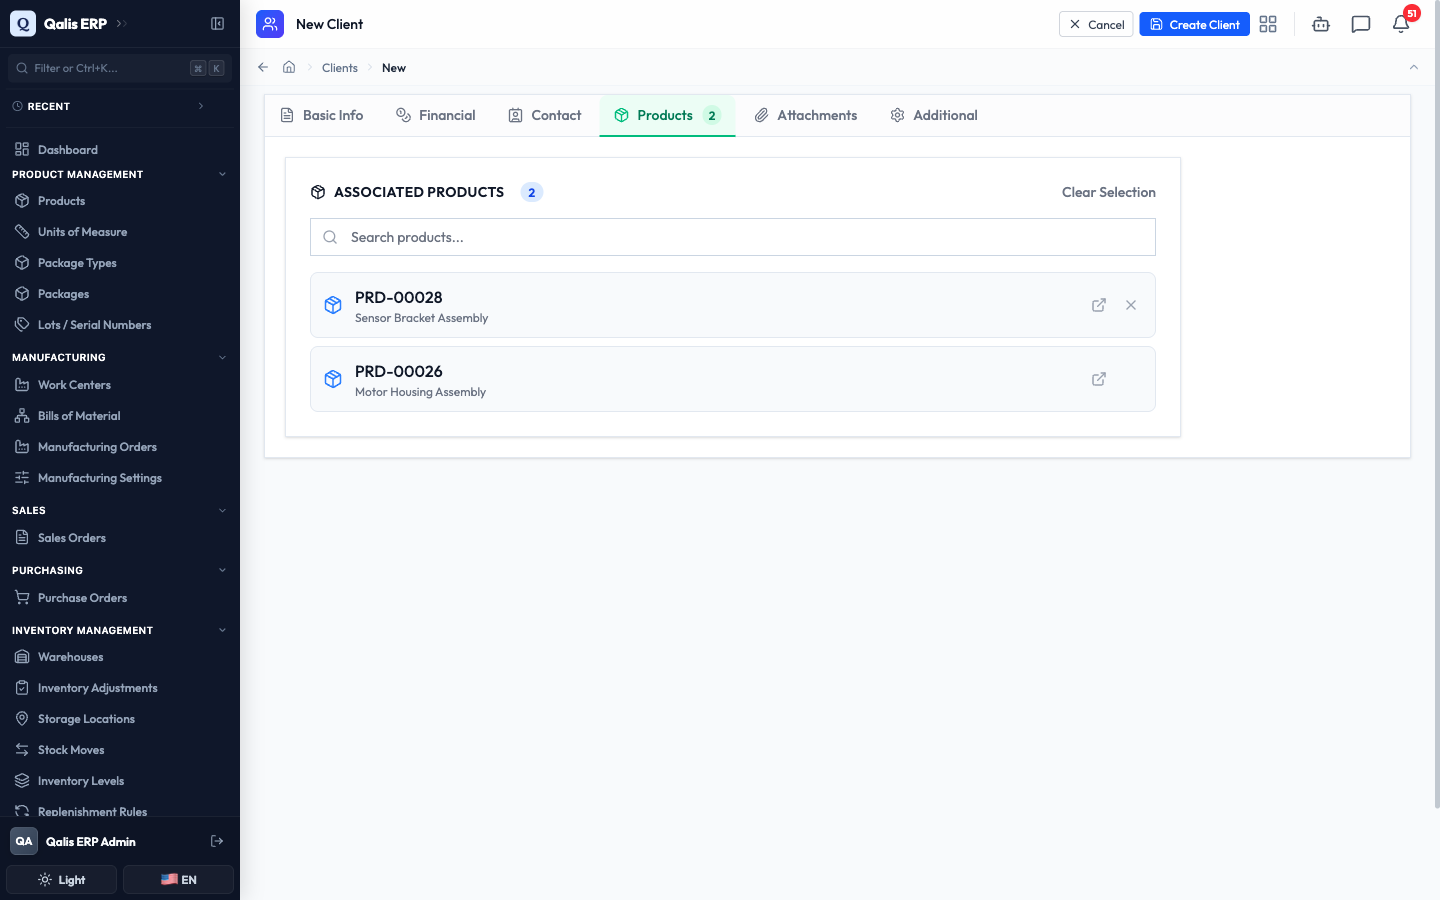
- Open the Products tab to link the products this client buys. Type in the Search products... box, then click a product to add it. Each linked product shows up in the list with a link to open it and an x to remove it.
- Open the Attachments tab to add a Logo or supporting Documents (a contract, an NDA, and so on). You can click to browse or drag a file straight onto the upload area. Files are added to the Document Management System automatically when you save.
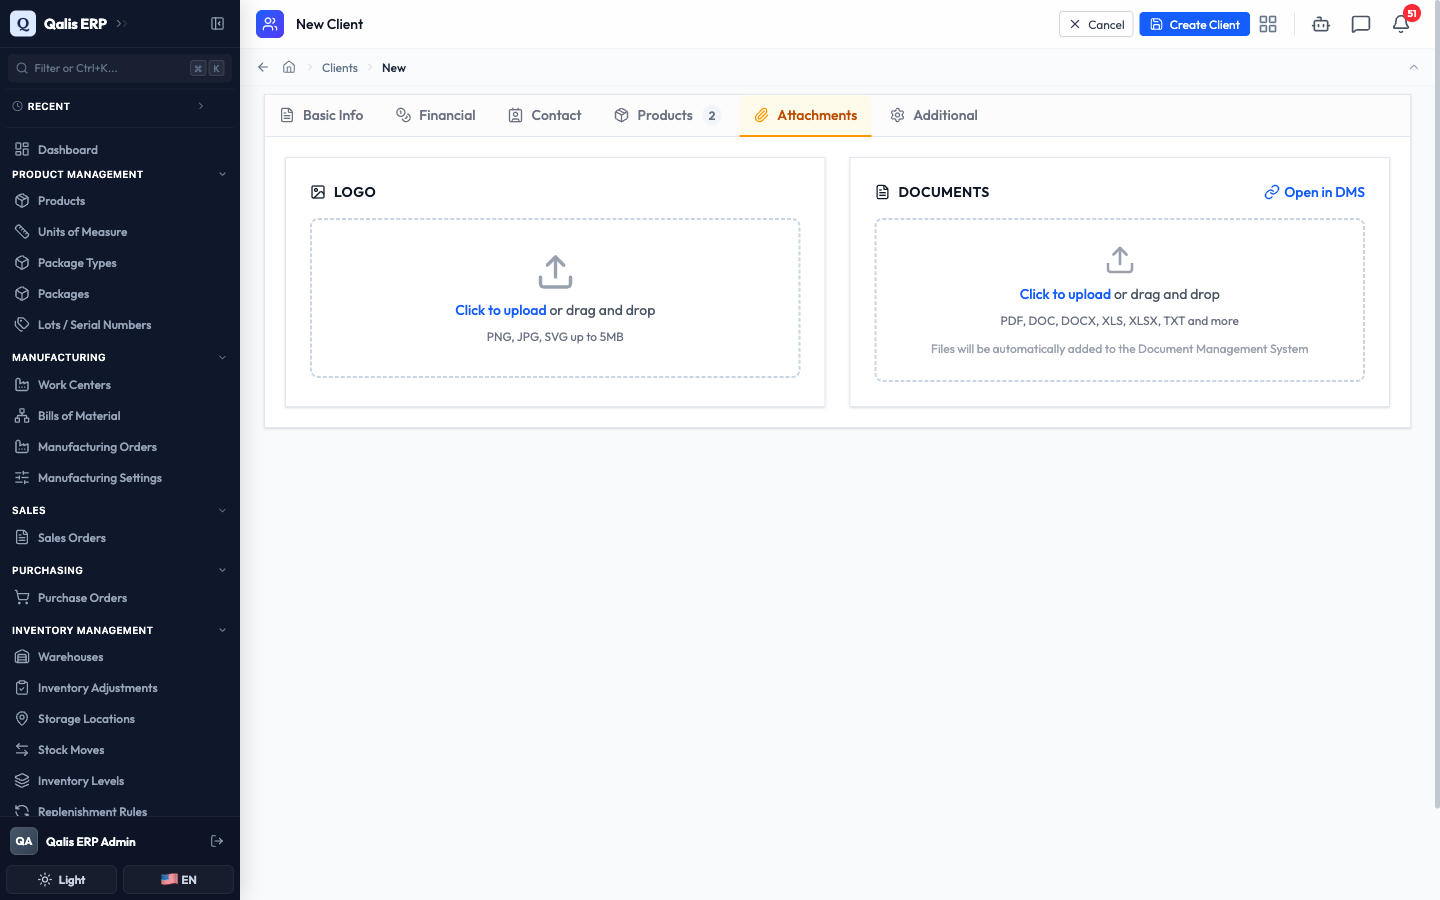
Files are only uploaded when you save the form, not before, so you never leave stray files behind if you change your mind.
- Open the Additional tab to record free-text Notes and any Custom Attributes, which are your own key and value pairs (for example
IndustryandAerospace & Defense). Click Add Attribute to add a row.
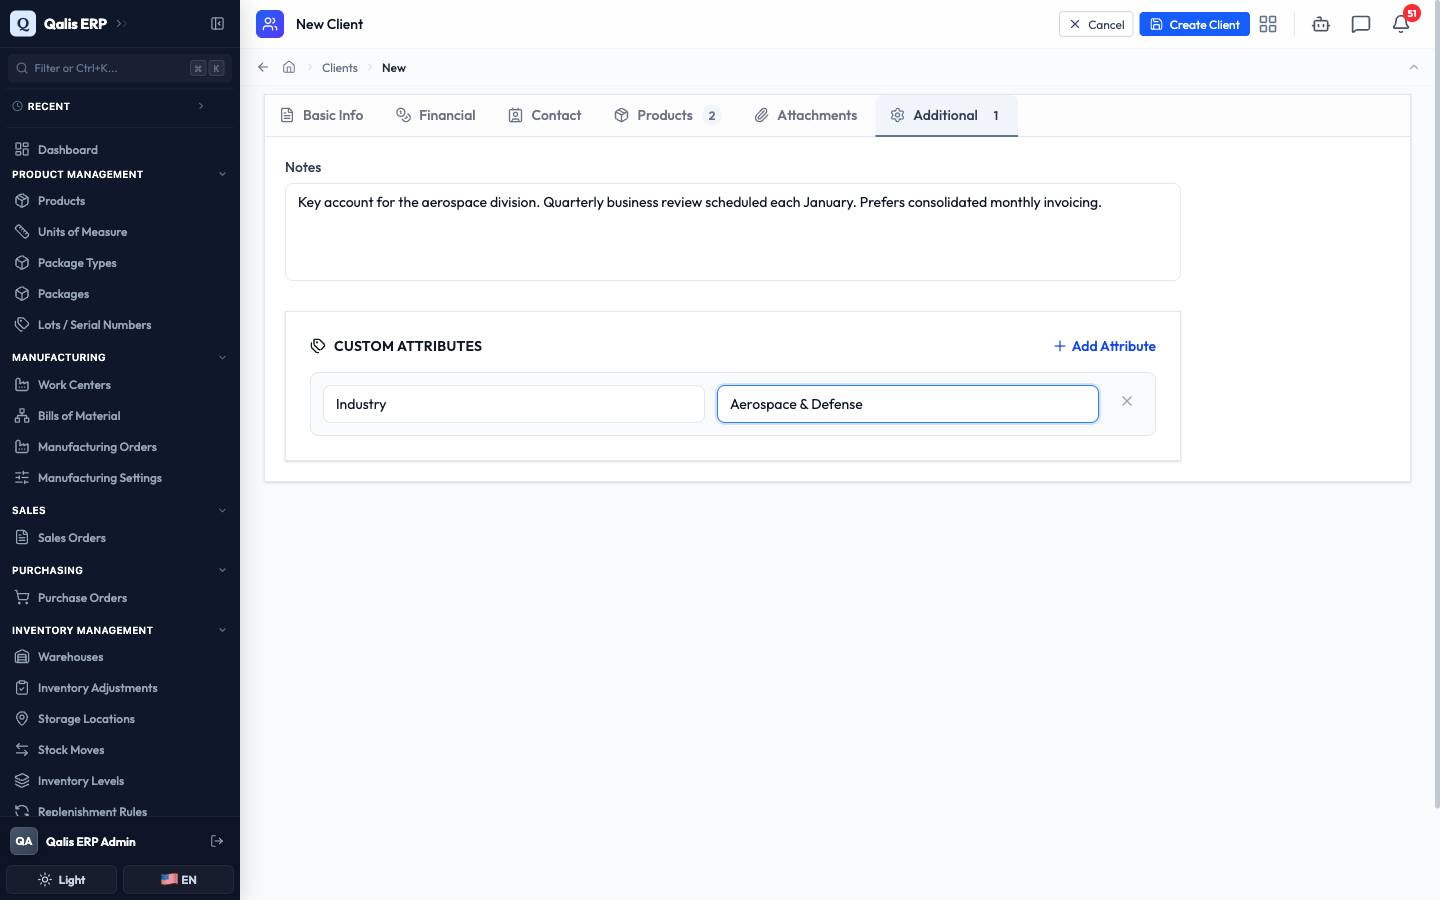
- When you are happy, click Create Client at the top right.
What happens next: Qualis saves the client, gives it a code, and opens its details page so you can review everything you entered.
Open and read a client
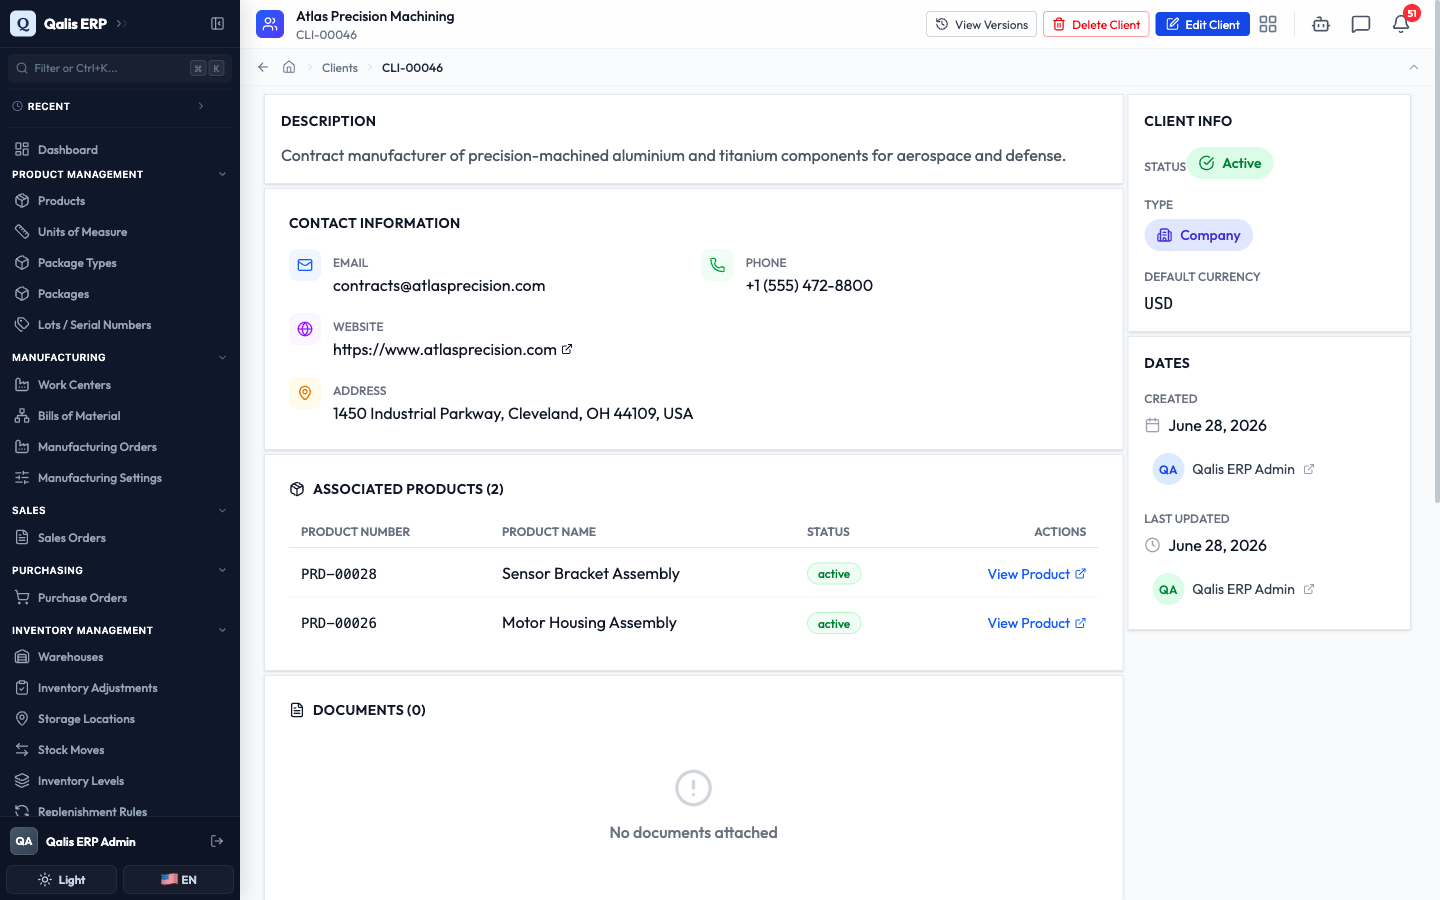
Open any client to see everything about it on one page.
- From the list, click a client's Name or Code to open its details page. This is the same page you saw right after creating one.
- The main area shows the Description, the Contact Information (email, phone, website, address), the Associated Products (each with a link to open the product), and any Documents attached. The buttons at the top right let you Edit Client, view its Version History, or Delete Client.
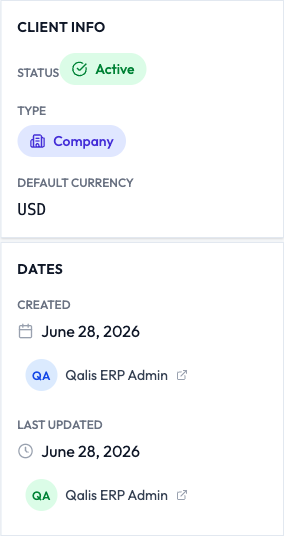
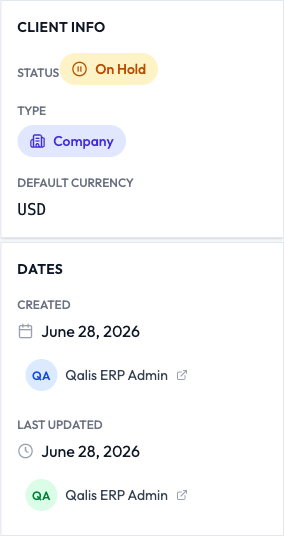
- The panel on the right gives you the key facts at a glance: the Client Info (status, type, and default currency) and the Dates showing who created and last updated the record and when.
Edit a client
Update a client's details whenever something changes, for example when a prospect becomes an active customer or you need to put an account on hold.
- Open the client and click Edit Client at the top right (or open the Edit action from the list).
- The form opens with everything already filled in, across the same six tabs. Go to the tab with the field you want to change. Here we open the Basic Info tab and change the Status from Active to On Hold. The Client Code is shown but cannot be changed.
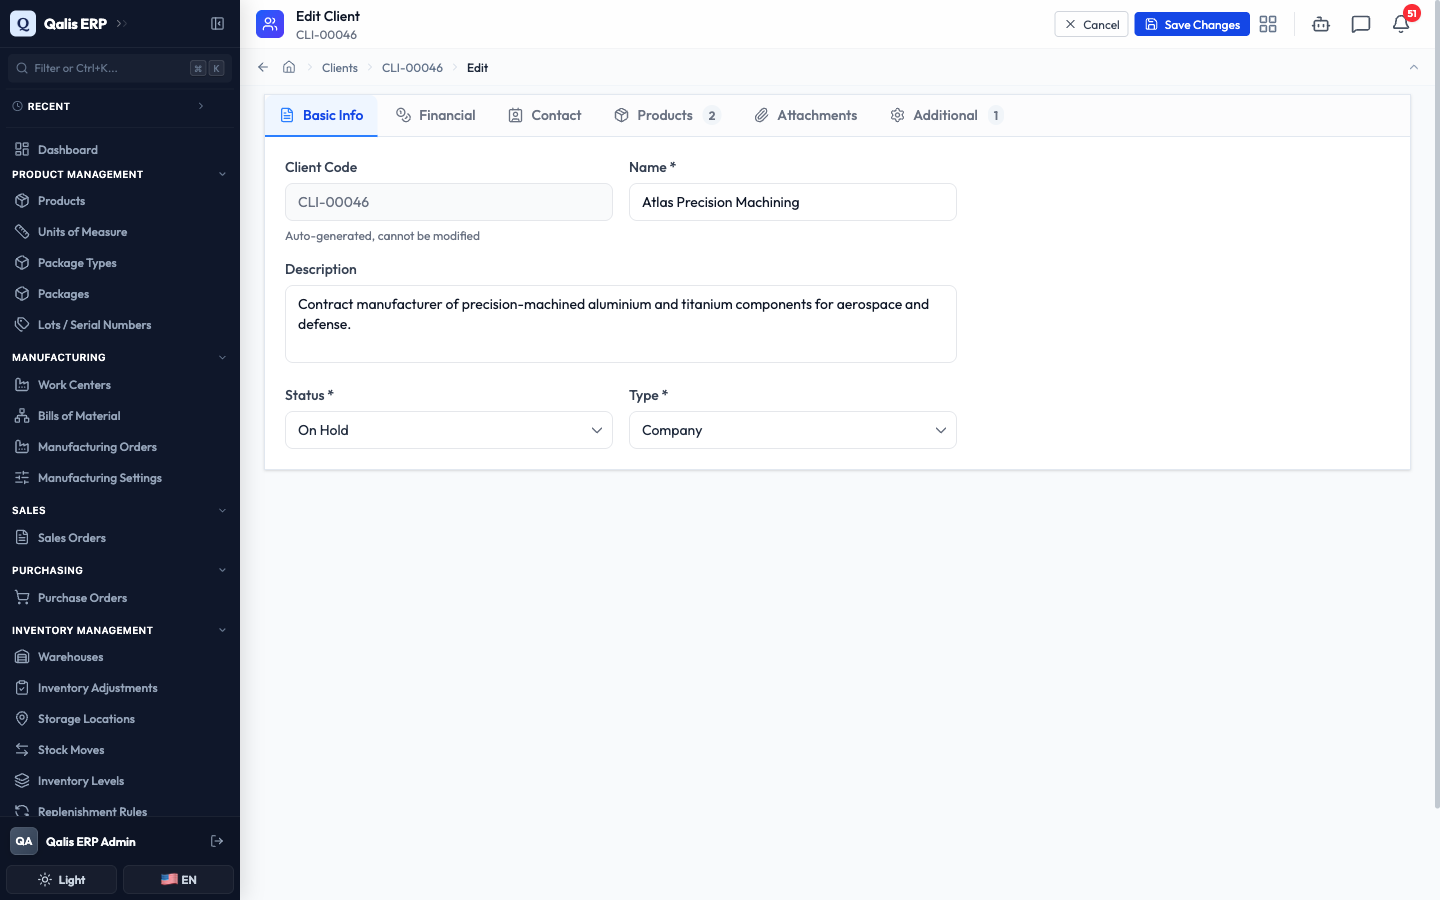
- Click Save Changes at the top right.
What happens next: Qualis saves your change, shows a short confirmation message, and returns you to the details page with the new value in place. Notice the Status now reads On Hold and the Last Updated time refreshes to reflect your edit.
Import many clients from a CSV
When you are setting up the system, or adding a batch of new customers, you can import them all at once from a spreadsheet instead of creating them one by one.
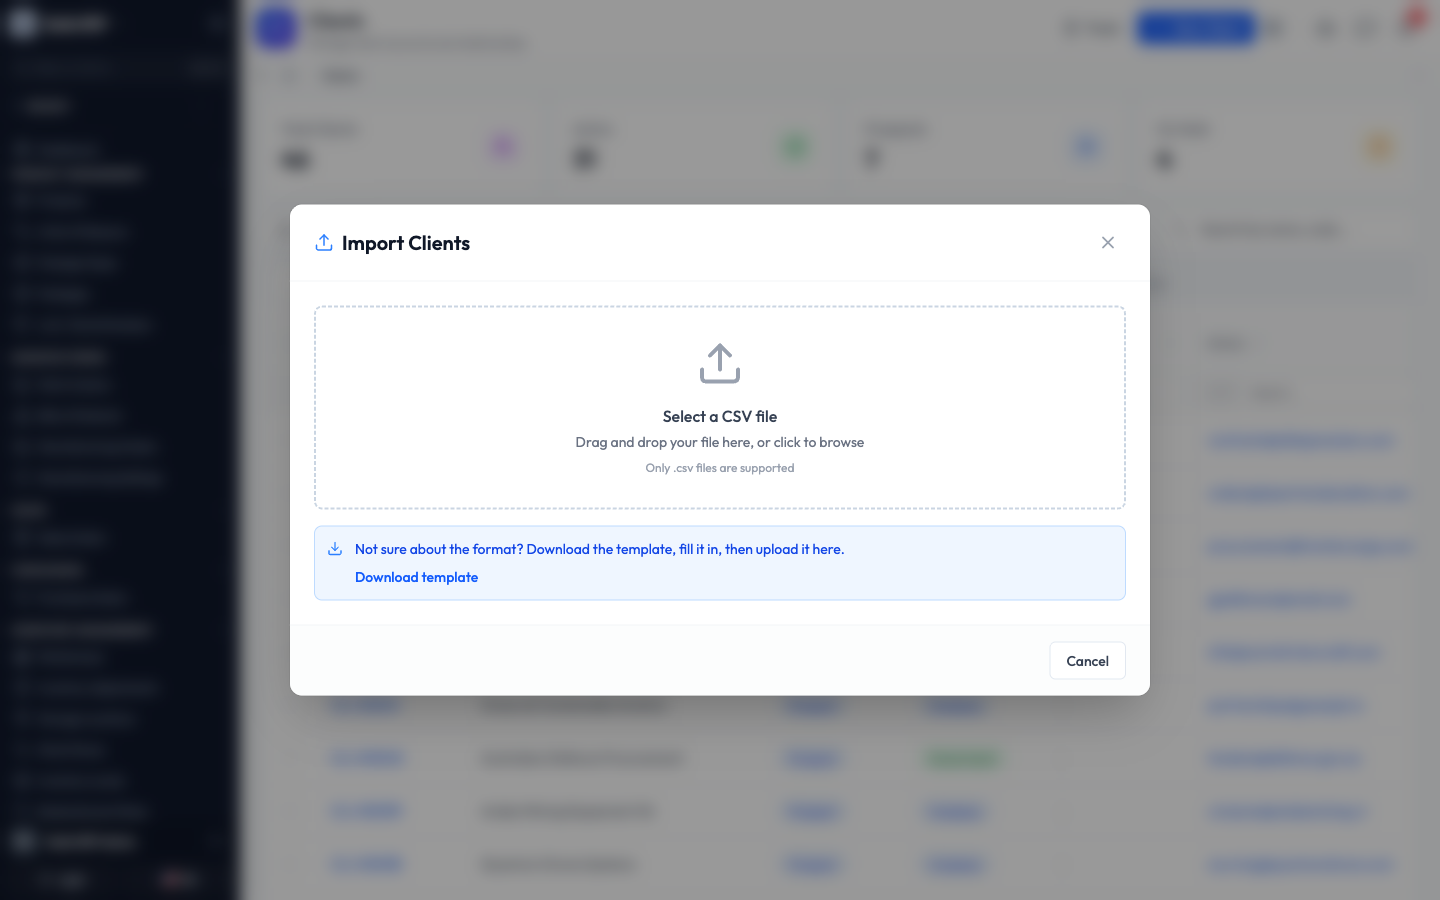
- On the list, click Import CSV (top left of the toolbar). The Import Clients window opens.
- Drag your CSV file onto the upload area, or click it to browse for the file. If you are not sure of the format, click Download template, fill it in, then upload it. The only columns you must fill in are name, status, and type; everything else (email, phone, website, address, and so on) is optional.
- Qualis checks every row and shows you a preview with a green tick for each valid row and a count of how many are ready. Review it to make sure the data looks right.
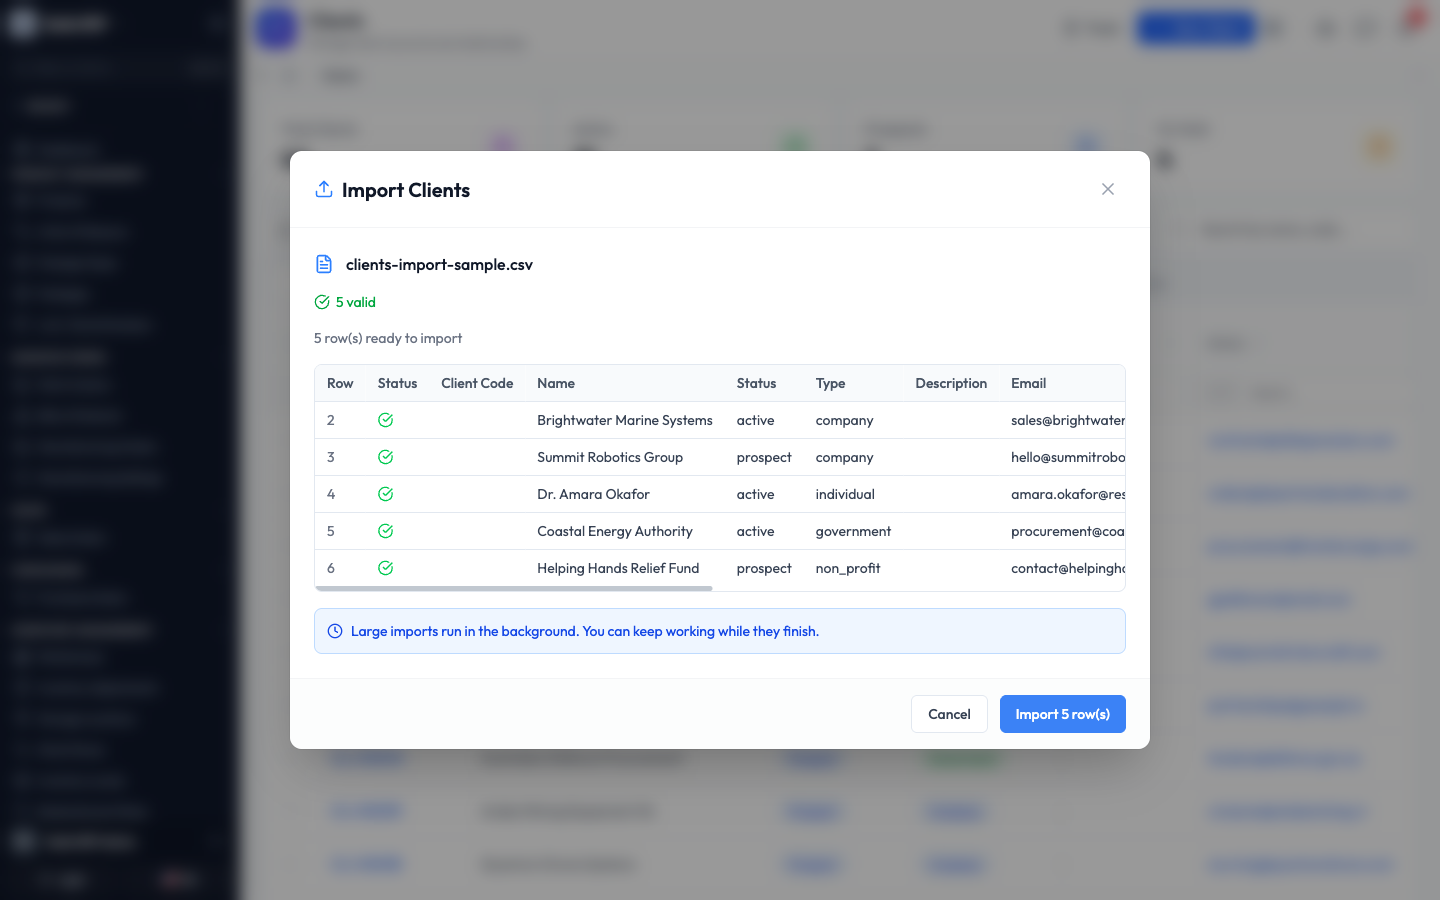
- Click Import to confirm. Large imports run in the background, so you can keep working while they finish. You can follow their progress on the Background Jobs page.
If any row has a problem (for example a missing name, or a status that is not one of the allowed values), it is flagged in the preview so you can fix your file and try again before anything is saved.
Export clients
Export your clients to a spreadsheet whenever you need them outside Qualis, for sharing or reporting.
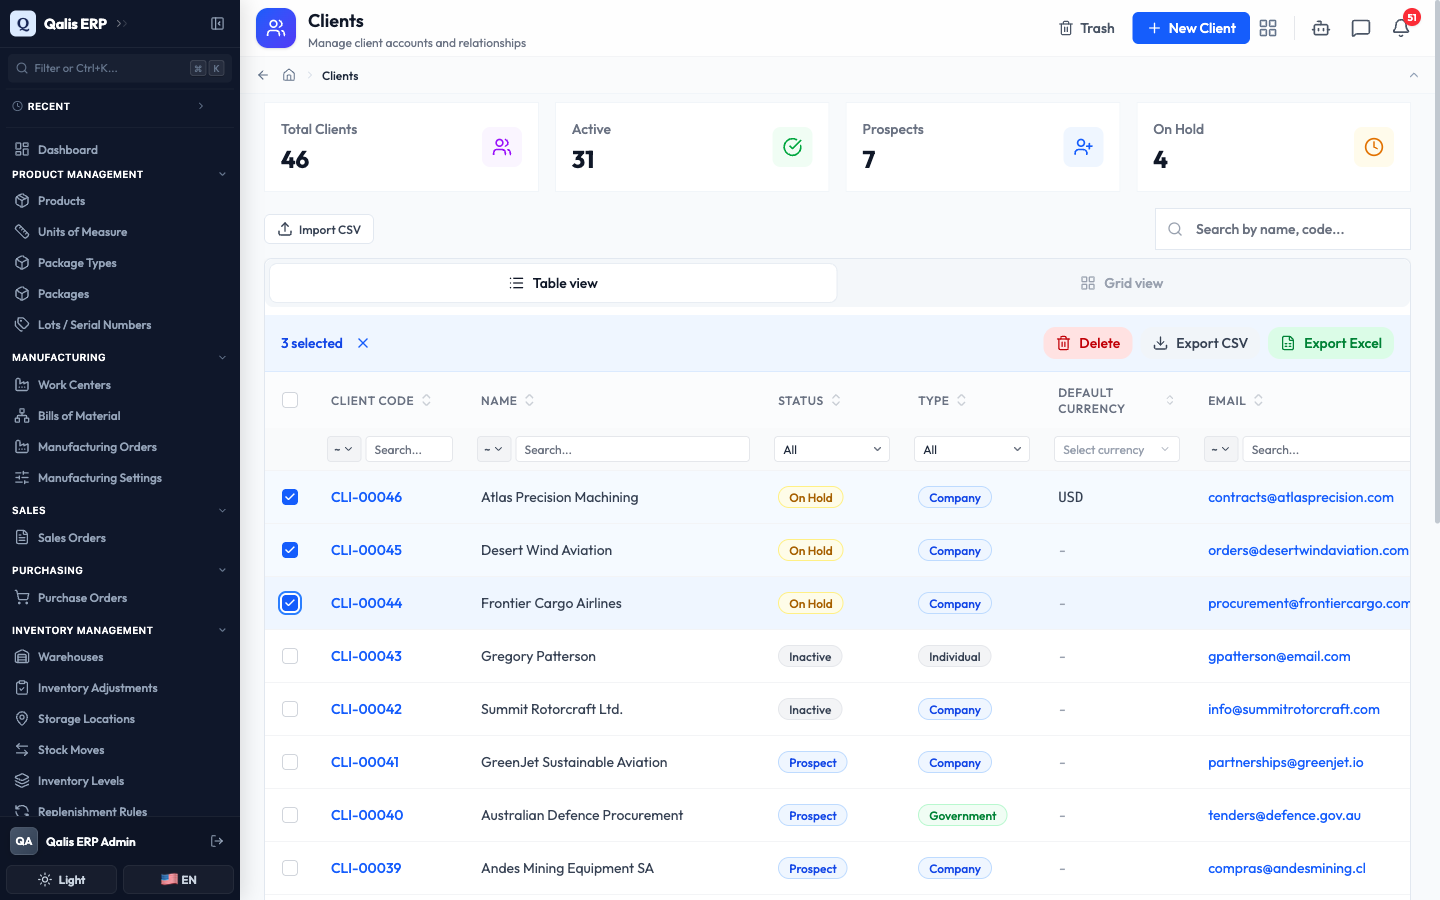
- On the list, tick the checkbox at the far left of each row you want, or tick the checkbox in the header to select everything on screen.
- A toolbar appears showing how many are selected, with Export CSV and Export Excel buttons. Click the format you want, and the file downloads.
Track changes with version history
Every time someone saves a change, Qualis keeps a snapshot, so you always have a full history of who changed what and when.
- Open a client and click View Versions at the top right.
- The Current Version is shown at the top, followed by every earlier version in order under All Versions. Each entry shows who made the change and when.
- Click a version to expand it. The Changes section highlights exactly what was edited, with the old value in red and the new value in green. Here you can see the status changed from Active to On Hold.
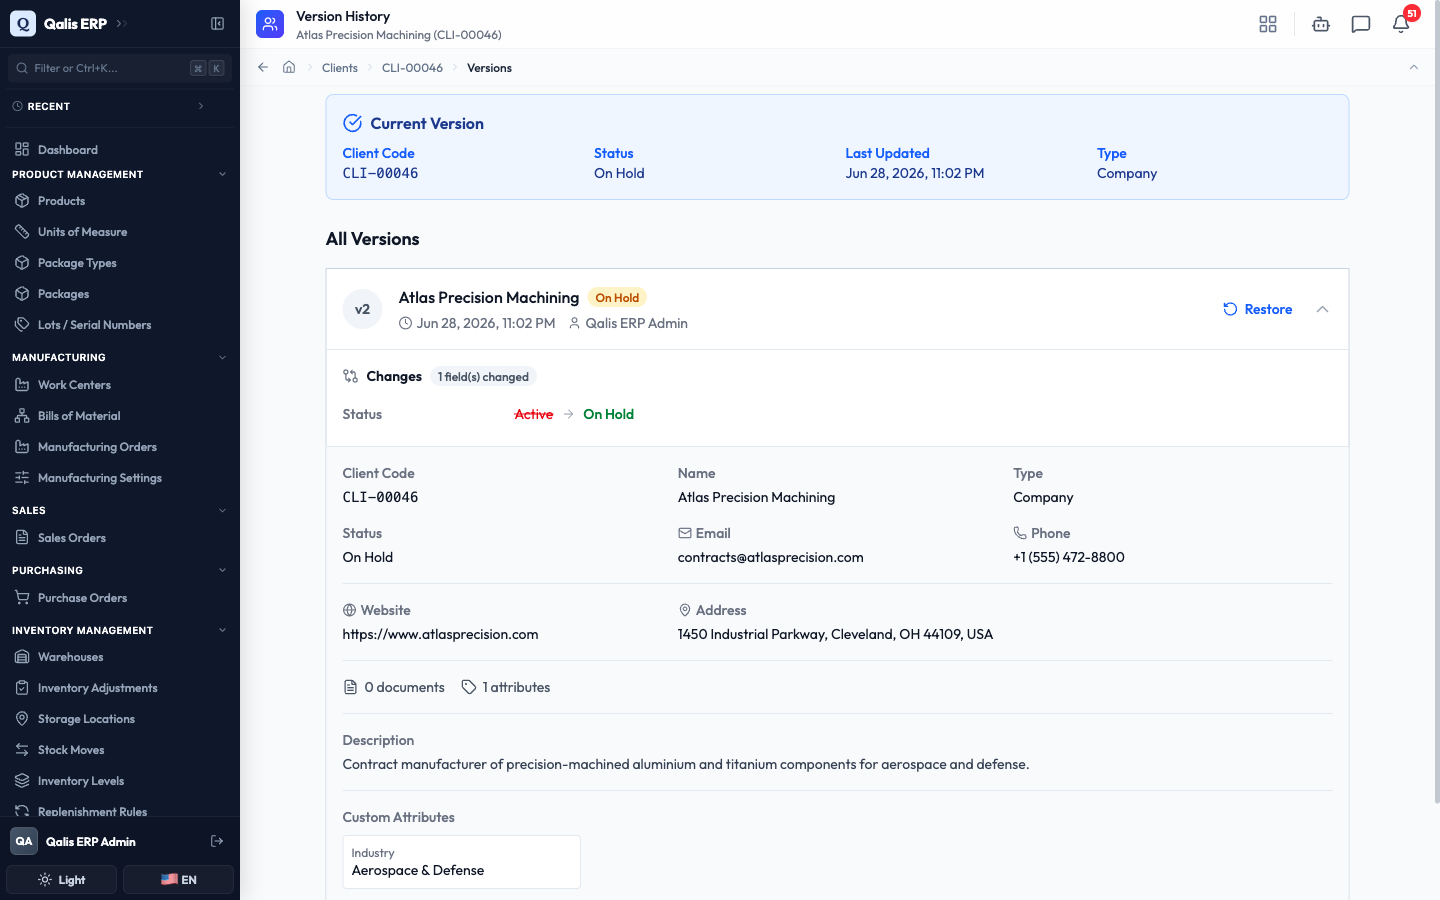
If you have permission to edit, each earlier version has a Restore button that brings its values back as a new version, without losing the history in between.
Good to know
- Code: a short reference Qualis assigns automatically when you create a client (like
CLI-00046). You never type or change it. - Status: a client can be Active (a current customer), a Prospect (someone you are still winning), On Hold (paused for now), or Inactive (retired). New clients start as a Prospect.
- Type: tells you what kind of customer this is, one of Individual, Company, Government, or Non-Profit.
- Default Currency: the currency new sales orders for this client start in. It is only a default for future documents, not a lock, so changing it does not affect orders you already raised. Leave it empty to use your organization's base currency.
- Associated products: the products you have linked to a client, shown on its details page with a quick link to open each one.
- Files go to the document library: any logo or document you attach is stored in the Document Management System, and can be downloaded by anyone who can view the client.
- Deleting is protected: if a client is already used elsewhere (for example on a sales order, an inspection, a quality case, a task, or product pricing), Qualis will not let you delete it, so you never end up with records pointing at a missing client. Set it to Inactive instead. Deleted clients first go to the Trash, where you can restore them or remove them for good.